Homebrew 101: Your Quick Guide to Brewing, Fermenting & Staying Legal
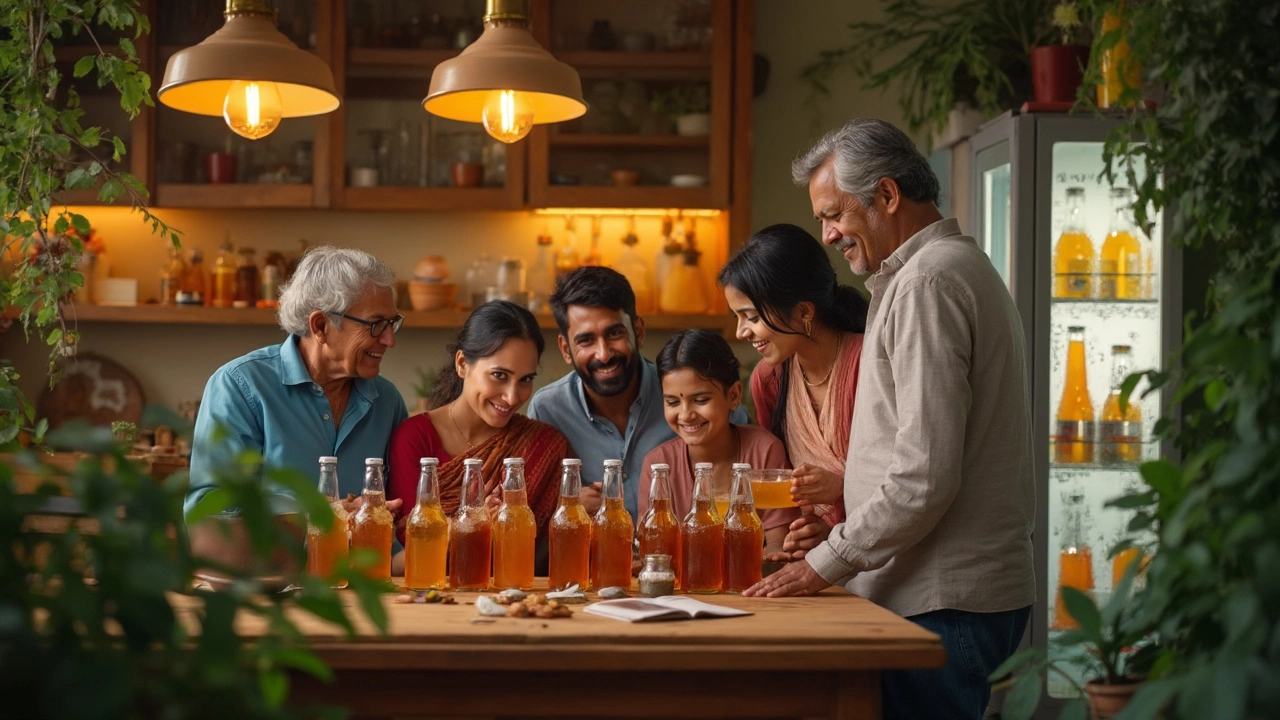
Thinking about making your own beer, cider, or even a little spirits at home? You’re not alone. Homebrewing has exploded in popularity because it lets you try new flavors, save money, and impress friends. This guide cuts the fluff and gives you straight‑forward steps, handy gear lists, and a quick legal rundown so you can start brewing with confidence.
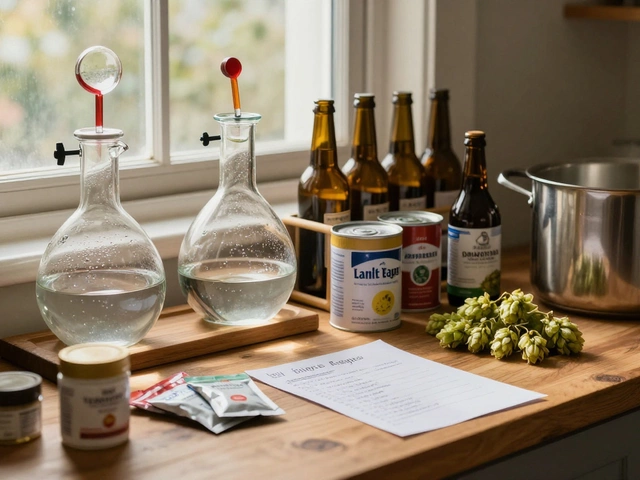
Getting Started: Gear and Ingredients
The first thing you need is a basic kit. Most beginner kits include a fermenter (usually a food‑grade plastic bucket or glass carboy), a lid with an airlock, a stirring spoon, and a siphon. If you’re buying pieces separately, look for a 5‑gallon fermenter, a sturdy bottle capper, and a thermometer. A cheap digital thermometer can save you from over‑ or under‑heating your mash.
Next up, ingredients. The three pillars are malt (or malt extract for beginners), hops, and yeast. Malt extract is the easiest way to get a consistent sugar profile without crushing grains. Pick a hop variety that matches the style you want—citrusy hops for an IPA, earthy hops for an amber ale. Yeast matters more than most homebrewers think; a clean American ale yeast will let hop flavors shine, while a Belgian yeast adds spicy character.
When you’re buying, check the expiration dates. Fresh yeast and hops produce the best flavor. Store hops in a freezer bag and keep yeast in the fridge until you’re ready to pitch.
Fermentation Basics & Common Questions
Fermentation is where the magic happens. After you’ve boiled your wort, cooled it to about 68°F (20°C), and transferred it to the fermenter, seal the lid and pop in the airlock. The airlock lets CO₂ escape while keeping bugs out. Most ales finish primary fermentation in 7‑10 days, but you’ll see bubbling slow down before the yeast is truly done.
One common worry is timing. Is two weeks enough to ferment beer? For most standard ales, yes—seven to ten days for primary, plus a week or two for conditioning if you’re planning to bottle‑condition. If you’re brewing lagers, give it a longer cold crash of 2‑4 weeks to let the flavors clean up.
Temperature control is key. A swing of just a few degrees can change the final taste. If you don’t have a dedicated fermenter fridge, a simple insulated box with a small heater or a swamp cooler (a bucket of water with a submersible pump) can keep things steady.
Legal side note: Homebrewing beer is legal in most places, but there are limits. In the U.S., adults can brew up to 100 gallons per year (about 1,500 pints) for personal use. Distilling spirits like moonshine is a whole different story—most states require a federal permit, and it’s illegal without it. If you’re curious about home distilling, read up on local regulations before you start.
When it’s time to bottle, add a measured amount of priming sugar (usually about 5 grams per liter) to give the yeast a little extra food for carbonation. Use a bottling wand to avoid spills, cap the bottles tightly, and store them at room temperature for two weeks. After that, chill a bottle, pop it open, and enjoy your first sip of homebrew.
Remember, brewing is as much about experimentation as it is about following recipes. Keep a brewing journal: note the malt type, hop schedule, fermentation temperature, and any tweaks you made. Over time you’ll spot patterns that lead to better batches.
Ready to get started? Grab a beginner kit, pick a simple ale recipe, and follow these steps. In a few weeks you’ll have a fresh, home‑crafted brew in your hands, and a new hobby that keeps giving. Cheers to your first batch!


Categories