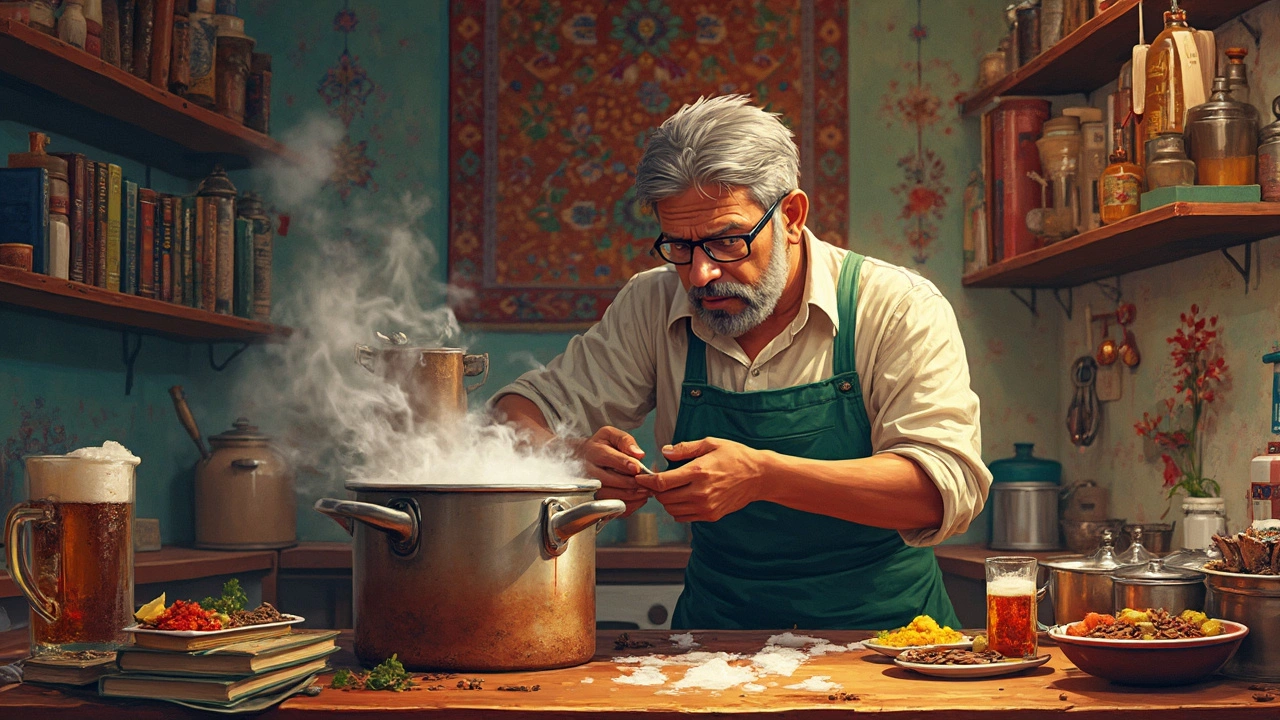
Beer Kits: Your Easy Path to Brewing at Home
Ever thought about making your own lager or ale without a lab full of equipment? A beer kit lets you skip the guesswork and start brewing in a weekend. All the ingredients you need are packed in one box, and the instructions are written for people who have never touched a mash tun. If you’re curious about the taste of fresh craft beer and want to save money, keep reading.
How to Pick the Right Beer Kit
First, decide what style you want to drink. Most kits are labeled by type – pale ale, stout, wheat, IPA – so you can match the flavor you crave. Look at the alcohol by volume (ABV); beginner kits usually sit around 4‑5% because they’re easier to control.
Second, check the ingredient list. Good kits include malt extract, hops, and yeast that are fresh. If the package mentions "dry hopping" or "specialty grains," you’re getting a step up in flavor, but it also means a bit more handling.
Third, think about the equipment you already have. Some kits require only a fermenter and a bottling bucket, while others come with everything, including a small carboy and caps. Choose a kit that matches the gear you’re comfortable using.
Finally, read reviews. Other brewers often point out if a kit’s instructions are clear or if the flavor falls short. A quick glance at user feedback can save you a failed batch.
Step‑by‑Step Brewing Tips
1. Sanitize everything. This is the most important rule. A single stray microbe can ruin the whole batch. Use a food‑grade sanitizer and soak all bottles, fermenter lids, and tubing for at least two minutes.
2. Mix the malt extract. Heat about a gallon of water to around 150°F (65°C). Slowly stir in the malt extract until it’s fully dissolved. Over‑stirring can create foam, so keep it gentle.
3. Add hops at the right times. The kit will tell you when to add bittering hops (usually at the start of a boil) and aroma hops (later in the boil). Follow the minutes exactly – it makes a big difference in bitterness and flavor.
4. Cool the wort fast. After the boil, you need the liquid (wort) down to about 70°F (21°C) before adding yeast. An ice bath or a wort chiller works well. The quicker you cool, the less chance bad bacteria have to grow.
5. Pitch the yeast. Sprinkle the yeast packet over the cooled wort and give it a gentle stir. Seal the fermenter with an airlock – this lets CO₂ escape while keeping air out.
6. Ferment for 1‑2 weeks. Keep the fermenter in a dark, stable‑temperature room (around 68°F). You’ll see bubbles in the airlock; when they slow down, fermentation is likely done.
7. Bottle and carbonate. Add the priming sugar the kit recommends, then fill clean bottles, leaving a little headspace. Cap them tightly and store them at room temperature for about two weeks.
8. Enjoy responsibly. Chill a bottle, pour into a glass, and take a sip. Notice the aroma, the body, and the finish. Every batch teaches you something new for the next kit.
With these basics, you can move from a single kit to experimenting with custom hops or mash‑in‑a‑bag methods. The best part is the satisfaction of holding a glass that you brewed yourself. Grab a kit, follow the steps, and let the home‑brew adventure begin.


Categories