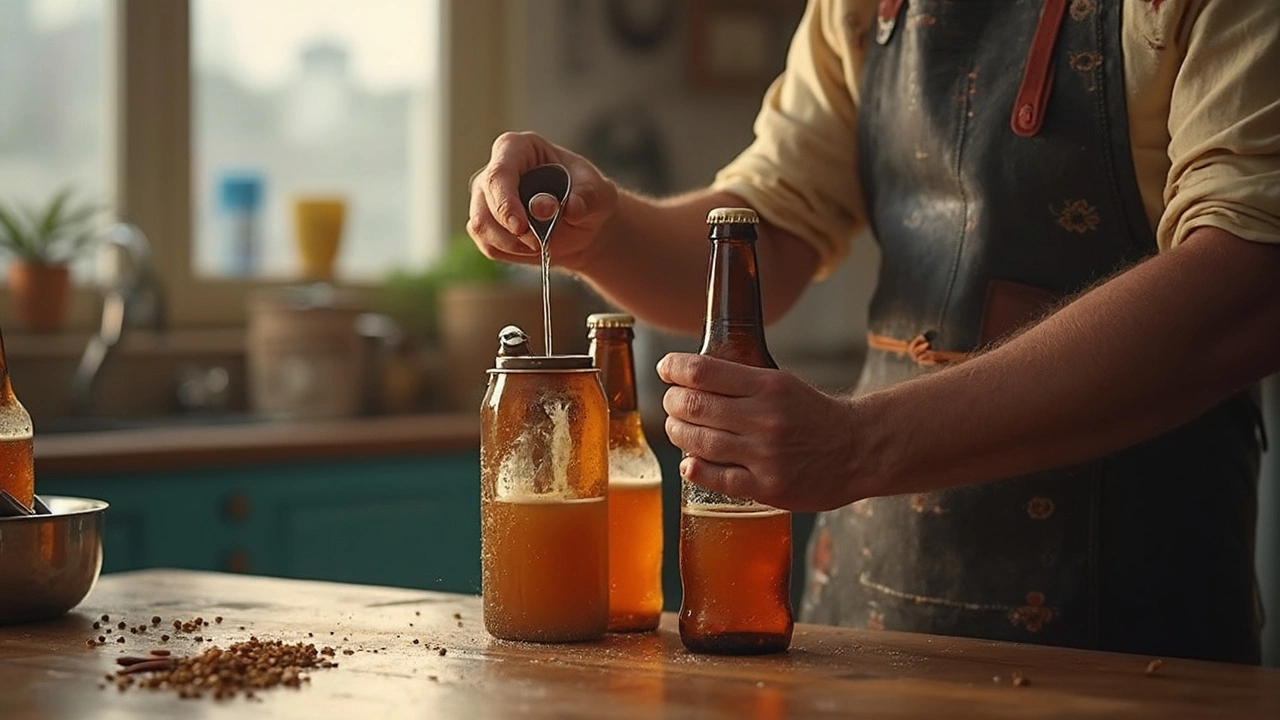
Cracking open a brand new home brew kit? The first thing that usually pops into your head is, “How much beer am I actually going to get out of this?” It’s not as straightforward as it sounds. Most kits shout out numbers like five gallons or around 19 liters, but your real-world results can be a bit lower.
Standard home brew kits—especially the beginner-friendly ones—tend to promise about 5 gallons of finished beer. That works out to about 48 standard-sized 12-ounce bottles or around 40 pint glasses. Pretty decent, right? But before you run to the store to buy bottles, there are a few small catches that trip up countless first-timers.
Some of your beer never makes it past the brew day. You lose a little every time you rack, bottle, or get a bit too aggressive siphoning off the ‘good stuff’ and leave the sludge behind (which you should, unless you’re a fan of chunky beer). So, don’t be surprised if that “5-gallon” kit fills closer to 42 bottles instead of 48. And not every kit is the same. Some mini kits only yield a single gallon—about a six-pack and a half. Always check the label—and double-check the instructions. Don’t let expectations get ahead of reality (or you’ll be as grumpy as my cat Jasper when his food bowl’s half empty).
- Standard Batch Sizes: What to Expect
- What Shrinks Your Batch
- Bottling Reality: Where the Beer Goes
- Boosting Your Brew: Tips for More Beer
- Is Bigger Always Better? Choosing the Right Kit
Standard Batch Sizes: What to Expect
If you’ve looked at more than a couple of home brew kit options, the numbers can get confusing fast. Most kits for beginners or casual hobbyists are designed for 1-gallon, 2-gallon, or 5-gallon batches. That’s the finished beer you’re supposed to end up with—after everything is said and done.
Let’s make sense of those numbers.
| Batch Size (Gallons) | Liters | Approx. 12oz Bottles |
|---|---|---|
| 1 | 3.8 | ~10 |
| 2 | 7.6 | ~21 |
| 5 | 19 | ~48 |
Most recipes and kits at local brew shops or online stores fall into the 5-gallon range. It hits the sweet spot between effort and reward. You don’t have to invest in restaurant-sized pots, but you get enough bottles to share. It’s honestly kind of a standard in the homebrewing world because of that balance.
Some specialty kits—think small-batch, test recipes, or if you live in a tiny apartment—stick with the 1-gallon model. That gets you roughly a dozen bottles, give or take. Not wild, but great for less cleanup, less storage, and if you love experimenting without committing to a full case. Two-gallon kits are less common, but some brands offer them as a middle ground.
It’s easy to imagine that 5 gallons equals exactly 48 bottles of beer magic every single time. In reality, you usually get a little less—thanks to that unavoidable stuff you leave behind (like yeast sediment or trub). So don’t be surprised if you’re capping 42 to 45 bottles at the end.
And if you’re eyeing larger “all-grain” kits and dreaming about scaling up, check your local laws on home brewing. Some places cap how much beer you can legally make each year—even if half of it ends up as gifts for your friends or left behind with the trub.
What Shrinks Your Batch
You get a home brew kit expecting a full batch, but the final amount is nearly always less than what’s on the box. There are a bunch of simple reasons, and they’re the same for almost everyone. The main thing to know—if you actually want all the home brew kit beer promised, you’ll need to account for how much gets lost along the way.
Here’s what eats into your batch:
- Trub Loss: That gunky sediment—yeast, hops, protein clumps—at the bottom of your fermenter isn’t going in your bottle unless you like chunky drinks. Standard loss is about 1-1.5 quarts (just over a liter).
- Transfers between vessels: Moving your beer from fermenter to bottling bucket or kegs? You always leave a little behind so you don’t suck up the trub. That’s another half a quart easily.
- Boil Off: When you boil your wort, water evaporates. You typically lose about 10-15% of your starting volume over an hour boil, so a gallon can disappear right here if you start with a big batch.
- Spills and Splashing: Brewing is messy. Between pouring, mixing, and moving things around, you’re bound to lose a cup here and there.
Want some hard numbers? Check out the typical losses for a 5-gallon (19L) batch:
| Loss Source | Approximate Volume Lost |
|---|---|
| Trub/Sediment | 1-1.5 quarts (1-1.5L) |
| Boil Off (60 min) | 0.5-1 gallon (2-4L) |
| Transfers | 0.25-0.5 quarts (0.25-0.5L) |
| Spills & Misc. | 0.25 quart (0.25L) |
Add it all up, and your perfect 5-gallon kit could finish closer to 4 gallons by the time it’s bottled and ready. Plan for these losses, and you won’t end up one six-pack short on party day.

Bottling Reality: Where the Beer Goes
This is where homebrewers get a wake-up call—because what’s promised on the box isn’t always what you’ll pour into bottles. First, there’s something called “trub.” That’s the yeasty sediment and grain bits that settle to the bottom of your fermenter. You really don’t want that stuff mixing into your finished beer. The clearer your pour, the less trub ends up in your bottles, but you’ll also lose a bit of your batch with what you leave behind.
Here’s a quick breakdown of where your beer actually goes during the process:
- Primary Fermenter Losses: When you rack (transfer) your beer off yeast after fermentation, you typically leave behind up to half a quart (around 0.5 liters) of sediment—even more if you added things like fruit or a whole heap of hops.
- Secondary Fermentor Losses: If you use a second fermenter, you’ll lose another quarter of a quart (about 0.2 liters) to dead yeast and leftover flavorings.
- Dropped or Spilled Beer: Not every transfer goes perfectly. A little always finds its way onto the counter or floor (if you have pets like Jasper, you know this all too well—they’re always ready to "help").
- Bottling Loss: Bottling wands and tubing don’t empty out completely, so expect a tiny bit lost at this step too—roughly another cup (about 0.25 liters).
To give you a real-life idea, check this table out. It’s based on a typical 5-gallon (19L) home brew kit batch, showing where the beer evaporates (not literally—unless you’re brewing in the Sahara):
| Stage | Beer Lost (L) | Beer Remaining (L) |
|---|---|---|
| Original Batch Size | 0 | 19.0 |
| After Primary Fermentation | -0.5 | 18.5 |
| After Racking/Secondary | -0.2 | 18.3 |
| Bottling Loss | -0.25 | 18.05 |
So, after all’s said and done, from a "5-gallon kit," you might end up with just under 18 liters actually going into bottles. That’s why most brewers fill 45 to 47 bottles—not the full 50. The more careful you are moving your beer, the less you’ll lose, but cutting corners to squeeze out every last drop often just means more gunk and risk of infection.
Some folks try to recover losses by tilting the fermenter or siphoning close to that yeasty layer. It’s tempting, but you’ll get a cloudier beer with more off-flavors. Clear beer is worth a bit less quantity. And if you want to dial in exactly how many bottles to sterilize, plan for a couple less than the total on your kit’s promise. Less stress, better results.
Boosting Your Brew: Tips for More Beer
If you want more beer from your home brew kit, it’s not just about stuffing more water into the fermenter. The trick is to make tiny adjustments that add up without screwing up the taste or quality. Here are some solid moves you can make to squeeze out every last drop.
- Master your siphoning technique. This sounds basic, but leaving too much beer behind with the sediment eats straight into your final tally. Tilt your fermenter slightly and siphon gently, keeping the end just above the sediment.
- Ditch flimsy bottling spigots. They leave more precious liquid at the bottom. Use a good auto-siphon or get creative with racking canes to reach the good stuff (but stop before you get the gunk).
- Be careful with the trub. A little bit of leftover yeast or hop residue at the bottom of your bucket is normal. If you’re too scared of it, you’ll end up dumping perfectly drinkable beer.
- Upgrade to a bigger kit if you’ve nailed the basics. Some kits cap you at tiny batches, but plenty of home brewers graduate to 10-gallon systems—just check your fridge space first.
- Consider top-off water with extract kits. Some home brewers add a bit more sanitized water just before fermentation if the flavor is strong enough. But don’t push it or the beer gets watery.
Check out this quick breakdown of common home brew setups and their typical yields versus what you usually get in the bottle:
| Kit Size | Promised Yield | Realistic Bottled Yield |
|---|---|---|
| 1 Gallon | Approx. 10-12 bottles | About 9-10 bottles |
| 2 Gallons | 21-24 bottles | 18-20 bottles |
| 5 Gallons | 48-54 bottles | 42-48 bottles |
| 10 Gallons | 100+ bottles | 90-96 bottles |
One underrated tip is to take your time disinfecting and prepping bottles. So many people lose bottles to spills or bad seals. And if you’re bottling, use every clean bottle you have, even if it means filling a couple of half-sized ones at the end—no shame in a short pour!
Another tip: once fermentation is done, chill your fermenter in the fridge (if you have space). Cold crashing drops more sediment and clears your beer, which helps you transfer more of the good stuff and less sludge.
Bottom line: getting more beer from your kit is all about the little things. It means less waste, more bottles, and a happier you when you see that row of finished brews on your kitchen counter. Taking time to dial in these habits makes it way easier to get the most out of every home brew kit batch.

Is Bigger Always Better? Choosing the Right Kit
It's tempting to think grabbing the biggest home brew kit is always a win, but size isn't everything in the brewing world. Your best choice depends mostly on your goals, your space at home, and how much beer you actually want to handle at once.
First off, look at the numbers in the table below showing common kit sizes and their real-life yields:
| Kit Size | Label Claim | Typical Yield (After Losses) | Bottles (12 oz) |
|---|---|---|---|
| Mini (1 gallon) | 1 Gallon | 0.9 Gallon | ~10 |
| Standard | 5 Gallons | 4.7-4.8 Gallons | ~48 |
| Large | 10 Gallons | 9.5 Gallons | ~100 |
If you're new to brewing, starting smaller can actually help you learn without wasting a mountain of beer if things go sideways. Single and two-gallon kits are super popular for beginners, apartment dwellers, or anyone who’s short on storage. They’re easier to clean, move, and stash in the closet when the landlord pops by.
Bigger kits are awesome if you’ve already nailed your process, love to share with friends, or just hate running out. Just keep in mind—hauling a five or ten-gallon carboy full of beer is heavy, and cleaning all that extra gear isn’t exactly fun after your third batch of the month.
Ask yourself a few questions before you pick your kit:
- How much storage space do you have for bottles and equipment?
- Do you have a spot that can stay cool and dark (good for fermenting bigger batches)?
- Are you brewing mostly for yourself, or hosting big parties?
- How much time are you willing to spend cleaning up?
There's nothing wrong with starting small and working your way up. If you do want to scale up, make sure your kitchen or brew space can handle it before dropping cash on a monster kit. Trust me—carrying a sloshing full fermenter across the apartment isn't as fun as YouTube makes it look.


Categories