When you hear the term Wine Tasting is the systematic process of evaluating a wine’s appearance, aroma, taste and finish, you might picture a fancy ballroom or a solemn judge’s panel. In reality, tasting wine is a simple, sensory adventure you can start at home. Below you’ll find the five core steps that turn an ordinary sip into a clear, confident assessment - and yes, they work for reds, whites, rosés, and sparkling alike.
Step 1: Look - Assess the Appearance
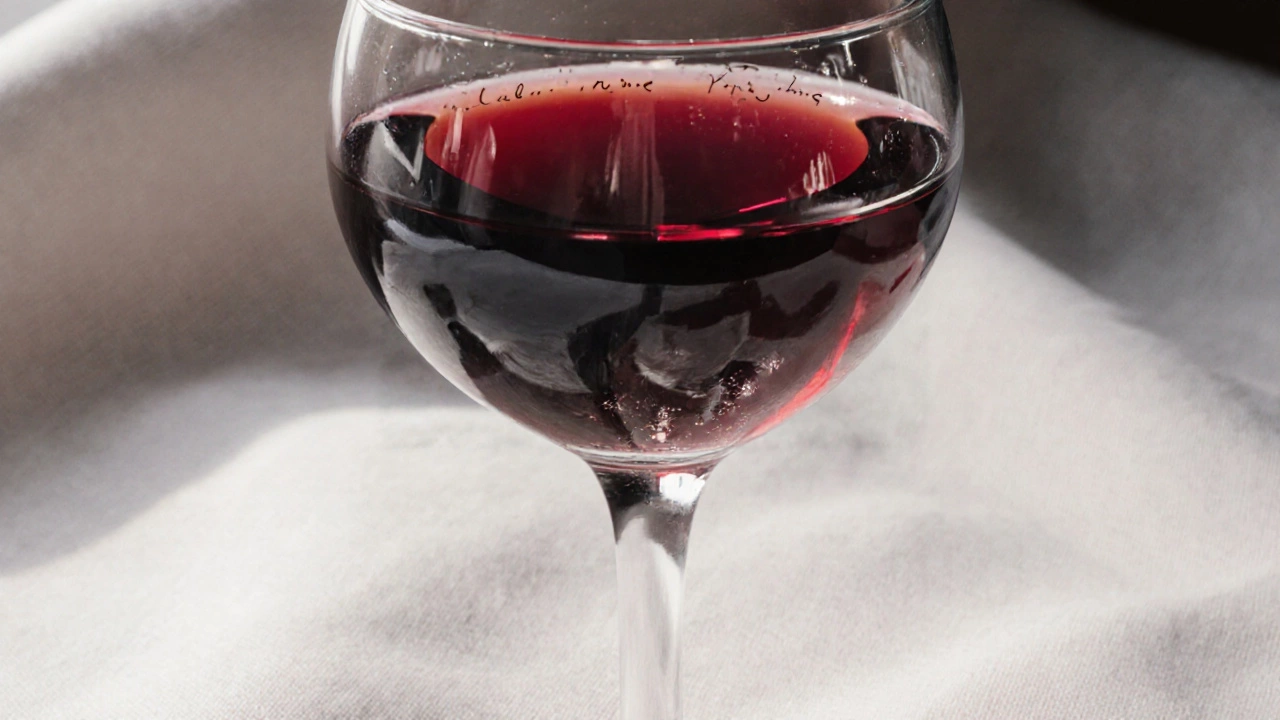
The first impression comes from the glass. Hold the wine against a white background and note its color, clarity, and intensity. A young white might glow pale straw, while an aged red often shows a brick‑red rim. Clarity tells you about filtration - hazy wine could signal a natural style or a fault. Use the right Glassware (a tulip‑shaped glass for reds, a narrower bowl for whites) to let the light travel through the liquid without distortion.
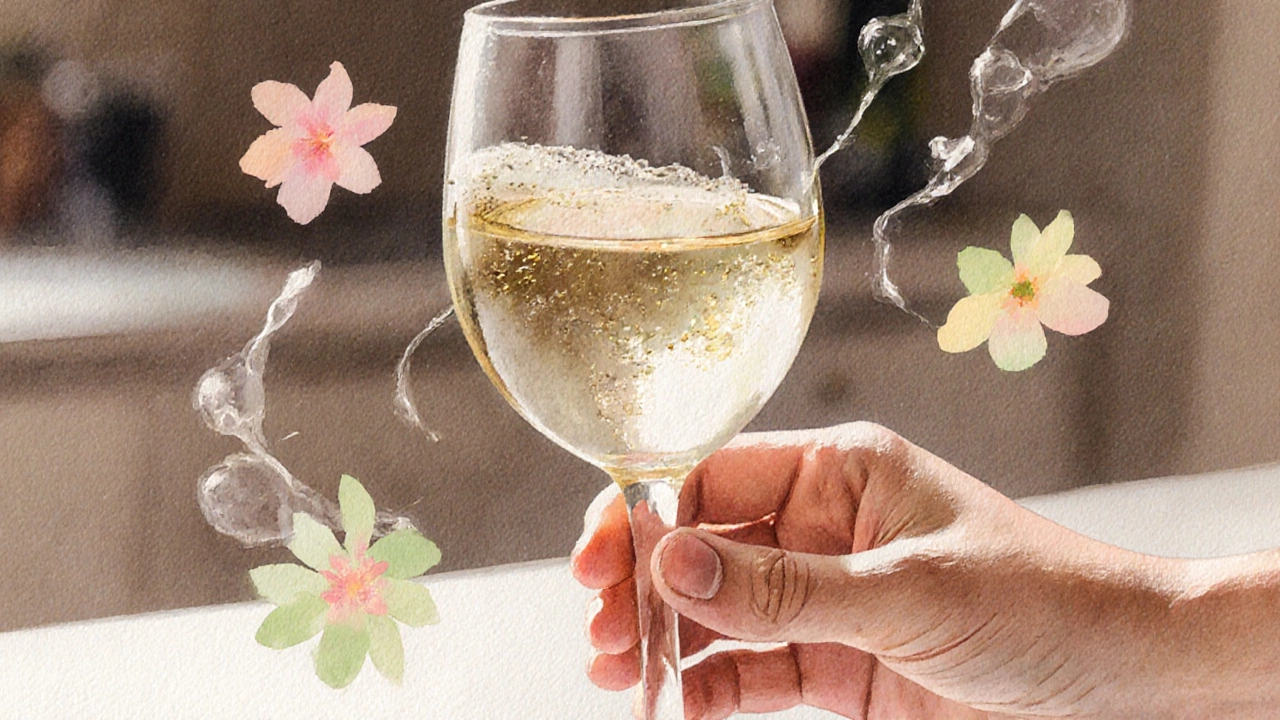
Step 2: Swirl - Release the Aromas
Give the glass a gentle swirl. This creates a thin film on the glass walls, releasing volatile compounds that carry the wine’s aroma. Notice the thickness of the “leg” or “tears” that slide down - slower legs usually mean higher alcohol or sugar content. When you pause, take a short, slow inhale, allowing the scent to fill your nose. This is where the Nose does its job, picking up fruit, floral, earthy, or spice notes. A sharp, green underripe aroma could hint at a wine that’s too young, while a honeyed scent may point to oxidation.
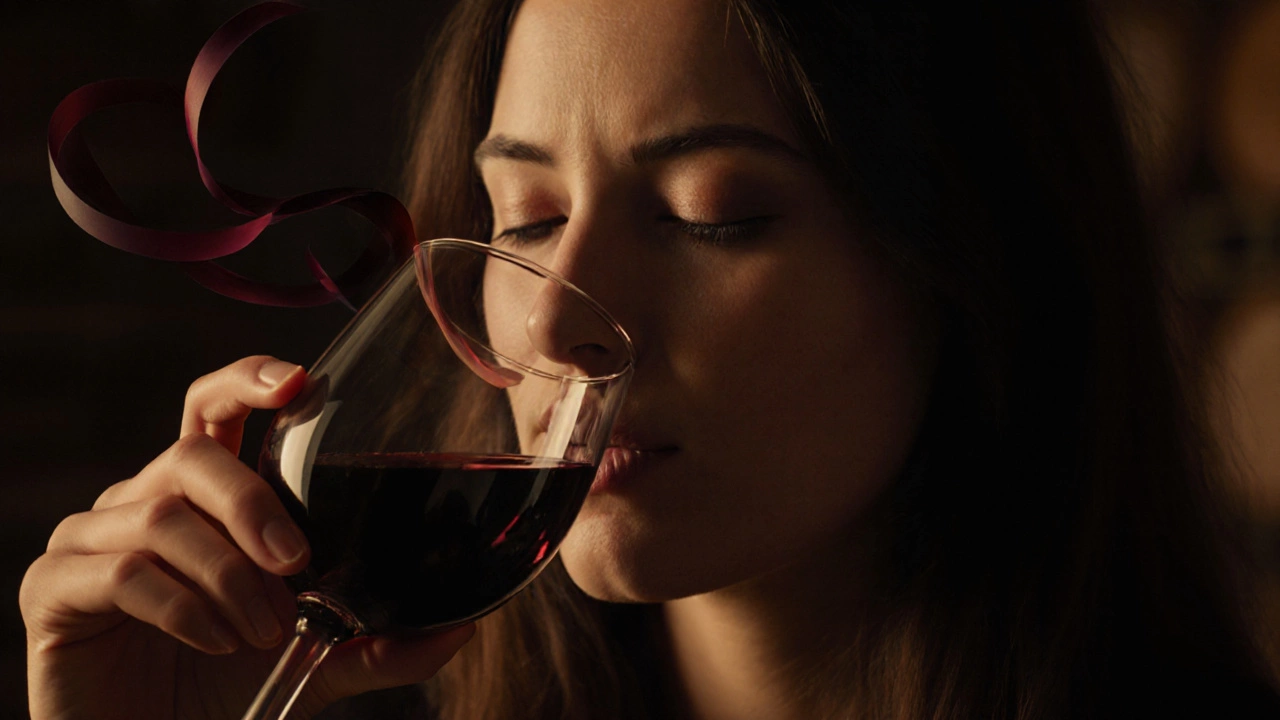
Step 3: Sniff - Identify the Aromas
Now focus on the bouquet. Try to separate primary aromas (fruit, flower, herb) from secondary ones (oak, butter, yeast) that develop during fermentation and aging. A classic Sauvignon Blanc might shout “gooseberry, lime, cut‑grass,” while a Pinot Noir could whisper “red cherry, forest floor, mushroom.” If you’re stuck, compare what you smell to familiar items - a ripe peach, fresh-cut pine, or a leather jacket. This practice builds your olfactory memory, a skill even top Sommeliers refine over years.
Step 4: Sip - Taste the Wine
Take a small sip, let it coat every part of your palate. First, notice the sweetness level, then the acidity, followed by the body and texture. Does the wine feel light and crisp, or full and velvety? Mid‑palate is where you’ll detect flavors that echo the nose - think blackcurrant, vanilla, or tobacco. Pay attention to Tannin in reds; they create a drying sensation that can be pleasant or harsh depending on the wine’s age. The goal is to map the journey from entry to the deepest flavor layer.
Step 5: Savor - Evaluate the Finish
After swallowing or spitting, notice the finish - how long the flavors linger and how they evolve. A long, clean finish often signals high quality. Does the aftertaste echo the fruit you first sensed, or does it reveal new notes like spice or mineral? This final step, sometimes called the “finish,” can be the deciding factor between a good wine and a great one.
Quick Reference Table
| Step | What to Do | Key Sensory Cue | Typical Observation |
|---|---|---|---|
| 1 - Look | Examine color, clarity, intensity | Visual | Pale straw vs. deep ruby, clear vs. hazy |
| 2 - Swirl | Create a film, watch legs | Movement | Slow legs suggest higher alcohol |
| 3 - Sniff | Identify primary & secondary aromas | Olfactory | Fruit, floral, oak, earth |
| 4 - Sip | Assess sweetness, acidity, body, tannin | Gustatory | Light crisp vs. full velvety |
| 5 - Savor | Feel the finish length and evolution | After‑taste | Long clean finish = high quality |
Pro Tips from a Sommelier
- Never taste wine straight from the bottle; the glass shape influences aroma capture.
- Practice with a single‑varietal flight (e.g., three Chardonnays) to sharpen your palate.
- Use a Decanter for young, tannic reds - it softens harsh edges before you start step 1.
- Take notes! Jot down color, aroma, taste, and finish in a small notebook. Patterns emerge over time.
Common Mistakes to Avoid
- Rushing the swirl - a weak swirl won’t release enough aroma.
- Sniffing too hard - over‑breathing can overwhelm the nose and mask subtle notes.
- Letting the wine sit uncovered for too long - oxidation changes flavor quickly.
- Skipping the finish - many people stop at the sip and miss the crucial after‑taste.
Putting It All Together
Now that you know the five wine tasting steps, try them out next time you open a bottle. Start with a simple varietal, follow the steps in order, and watch how your confidence grows. Within a few sessions, you’ll be able to describe a wine’s character with the same language you hear on a tasting menu.
Do I need special glasses for each step?
A proper tasting glass helps concentrate aromas, but you can still follow the steps with any clean, clear glass. Just avoid thick, patterned glassware that distorts the view.
Can I taste wine without a sommelier?
Absolutely. The five steps are designed for anyone - home enthusiasts, restaurant diners, or students. Practice is the only real requirement.
How long should I wait between sips?
A short pause (10‑15 seconds) lets your palate reset. Drinking water or a plain cracker in between can help clear lingering flavors.
Is it okay to spit while tasting?
Yes, especially in professional settings or when tasting many wines. Spitting avoids intoxication and keeps your senses sharp.
What role does temperature play in tasting?
Serving temperature affects aroma volatility and perceived acidity. Whites are best chilled (8‑12 °C), reds slightly cooler than room temp (15‑18 °C). Adjusting temperature can reveal hidden nuances.


Categories