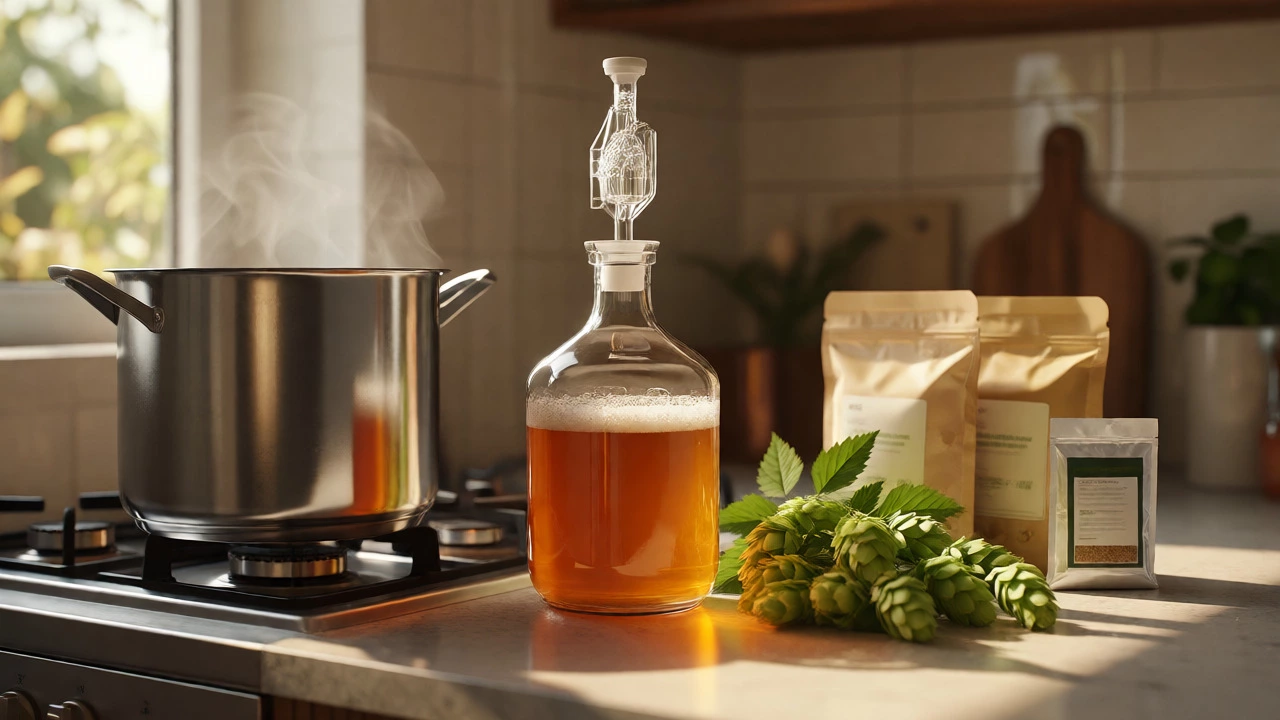
Homebrew Style Matcher
Not sure which beer to brew first? Answer these three questions to find your perfect beginner batch.
You’ve bought your first kit, sanitized every surface until you’re blue in the face, and stared at a wall of grain bags wondering where to start. It’s a common trap: trying to impress friends with a barrel-aged Imperial Stout or a triple-hopped Double IPA on batch number one. Spoiler alert: you’ll likely end up with a harsh, under-attenuated mess that tastes like burnt rubber. The best beer to brew at home, especially when you’re just starting out, isn’t the most complex one-it’s the most forgiving.
As someone who has brewed through countless batches in a small Edinburgh flat, I can tell you that success breeds confidence. You want a style that hides minor mistakes, uses ingredients you can actually find, and gets you to drinkable beer in three to five weeks. This guide breaks down exactly which styles hit that sweet spot, why they work, and what technical specs matter so you don’t waste your money on hops you won’t use correctly yet.
The Golden Rule: Start Simple, Not Complex
Why do experienced brewers always recommend an American Pale Ale or a Wheat Beer for your first attempt? It comes down to margin for error. High-gravity beers (those with lots of sugar/alcohol potential) demand precise temperature control and massive yeast health. If your fermentation room is too cold, a stout might stall; if it’s too hot, a lager will taste like nail polish remover. Ales, however, are resilient. They ferment happily at typical room temperatures, around 18-22°C (64-72°F), which is perfect if you don’t have a dedicated fermentation chamber.
Think of it this way: brewing a simple ale is like learning to drive on a straight, empty road. Brewing a sour beer or a high-ABV Belgian tripel is like parallel parking in London traffic while juggling. You need muscle memory before you try stunts. The goal of your first few batches isn’t perfection; it’s understanding how malt, hops, water, and yeast interact without fighting the process.
Top Contenders for Your First Batch
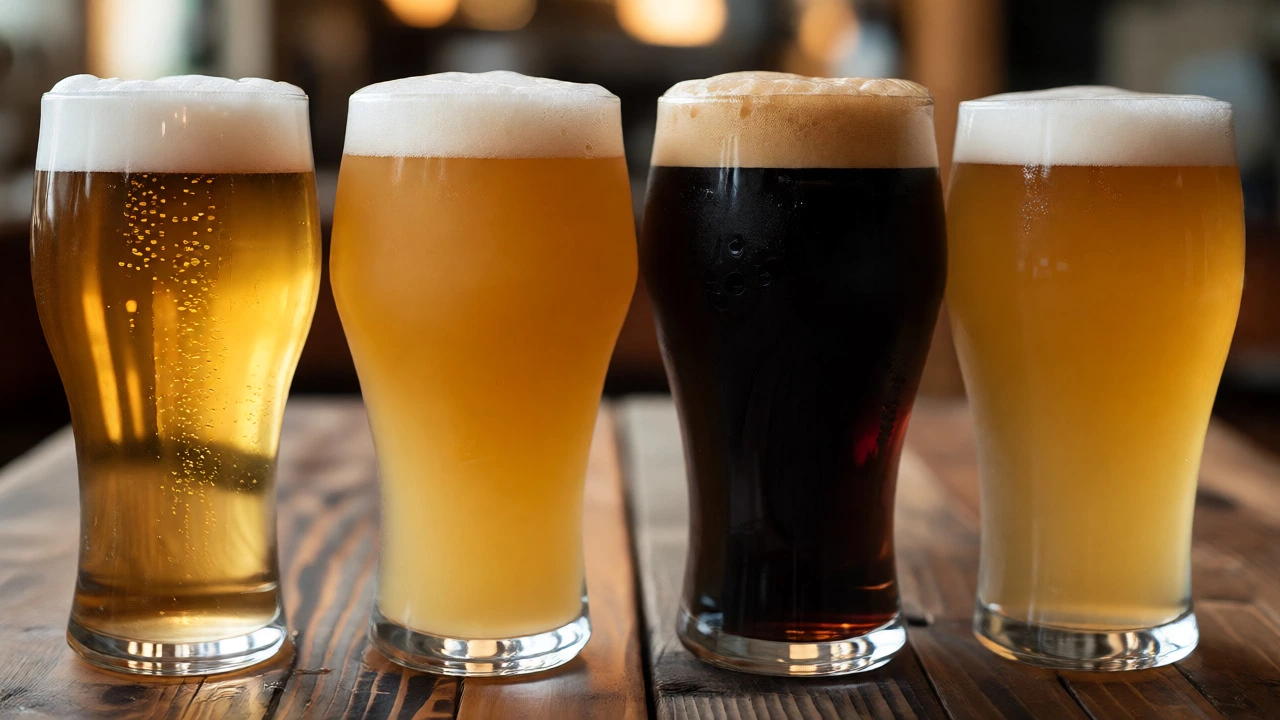
Based on consensus from major brewing publications and community feedback as of 2026, these four styles offer the best balance of flavor, ease, and educational value.
American Pale Ale (APA)
If you like craft beer, you probably like APAs. They are the gateway drug of homebrewing. An APA typically sits between 4.5% and 5.5% ABV with moderate bitterness (30-45 IBU). Why is it great for beginners? Because it teaches you hop management. You learn when to add hops for bitterness versus aroma. Most beginner recipes use standard liquid malt extract (LME) or a simple all-grain mash with pale malt and a touch of Crystal malt for color. Yeast strains like US-05 are bulletproof-they clean up quickly and tolerate slight temperature swings without throwing off weird flavors.
American Wheat Beer / Hefeweizen
Wheat beers are arguably the most forgiving style of all. The haze is natural, so cloudy beer isn’t a failure-it’s a feature. The yeast strains used here (like Wyeast 3068 for German-style Weizens) produce banana and clove esters that can mask minor fermentation imperfections. If your carbonation is slightly off, nobody notices because wheat beers are naturally soft and effervescent. Plus, they drink fast. There’s nothing worse than waiting six months for a stout to mature when you could be enjoying a crisp wheat beer in three weeks.
Dry Irish Stout
Don’t let the dark color fool you-stouts aren’t heavy. A Dry Irish Stout, like Guinness, is actually low in alcohol (around 4.0-4.5% ABV) and light-bodied. The key ingredient is roasted barley, which gives that coffee-like finish. For beginners, this style is excellent because it doesn’t require complex mashing schedules. You can steep the roasted grains in a bag, much like making tea, and mix them with malt extract. It’s a lesson in balancing roast character against sweetness, but the low gravity means fermentation finishes quickly and cleanly.
Cream Ale
This is the sleeper hit. Cream ales are hybrids-they use ale yeast but are fermented cool enough to taste like lagers. They are crisp, clean, and highly drinkable. Since they often include corn or sugar adjuncts, they dry out nicely, teaching you about attenuation. If you want a beer that disappears quickly at a barbecue, this is it. It requires minimal equipment fuss and produces a very consistent result if you keep temps steady.
Technical Breakdown: What Makes These Styles Easy?
To help you decide, here’s a comparison of the recommended styles against more difficult alternatives. Note the differences in time, complexity, and risk.
| Style | Typical ABV | Bitterness (IBU) | Ferment Temp | Time to Drink | Beginner Risk Level |
|---|---|---|---|---|---|
| American Pale Ale | 4.5-5.5% | 30-45 | 18-22°C | 3-4 Weeks | Low |
| Hefeweizen | 4.5-5.0% | 10-15 | 18-20°C | 2-3 Weeks | Very Low |
| Dry Irish Stout | 4.0-4.5% | 25-40 | 18-22°C | 3-5 Weeks | Low |
| Double IPA | 7.5-9.0% | 60-100+ | 19-21°C (Strict) | 6-8 Weeks | High |
| Lager | 4.5-5.5% | 20-30 | 10-12°C | 6-8 Weeks | Medium-High |
Notice the Lager row. Many beginners think, "I love pilsners, so I'll brew one." Don't. Lagers require yeast strains that work slowly at cold temperatures. If your house is 20°C, you need a fridge with a temperature controller to drop it to 10°C. If you fail to keep it cold, you get fusel alcohols (headache juice). Ales don't have this barrier.
Styles to Avoid Until You Have More Experience
While you *can* brew anything, some styles punish beginners disproportionately. Here’s what to skip for now:
- Sours (Gose, Berliner Weisse): These rely on bacteria like Lactobacillus. If your sanitation slips even slightly, wild yeasts can invade and ruin the batch. Plus, balancing acidity is an art form, not a science you master on day one.
- Imperial Stouts: With ABVs over 10%, these require massive amounts of grain, long boils, and months of conditioning. If your yeast struggles with the high sugar load, you’ll get stuck fermentation. And if you bottle it too early, the pressure can explode bottles due to residual sugars.
- Belgian Tripels: These use expressive yeast strains that produce spicy, fruity esters. They also often involve adding table sugar during the boil. If you don’t aerate the wort properly, the yeast starves, leaving you with a harsh, alcoholic taste rather than a refined one.
Process Over Style: The Real Secret to Success
You can pick the easiest recipe in the world and still fail if your process is sloppy. Conversely, a mediocre recipe brewed with precision will taste good. Here are the non-negotiables for any beginner batch:
- Sanitize Everything: Cleanliness removes visible dirt; sanitizing kills invisible microbes. Use a no-rinse sanitizer like Star San. If air touches your cooled wort after boiling, it must pass through an airlock filled with sanitizer or vodka. No exceptions.
- Temperature Control: Yeast is living. Too hot, and it throws off-flavors (banana, clove, solvent). Too cold, and it goes dormant. Keep your fermenter in a closet or basement where temps are stable. In Scotland, our ambient temps are actually quite good for ales, but watch out for summer heat spikes.
- Patience with Fermentation: Do not rack (transfer) to secondary unless necessary. Modern advice suggests keeping it in primary for 2-3 weeks. Let the yeast clean up its own byproducts. Rushing to bottle leads to green, unfinished flavors.
- Hydrometer Readings: Buy a cheap hydrometer. Take a reading before pitching yeast (Original Gravity) and again after two weeks (Final Gravity). If the numbers haven’t changed in three days, fermentation is done. Guessing leads to bottle bombs.
Equipment Needs for These Styles
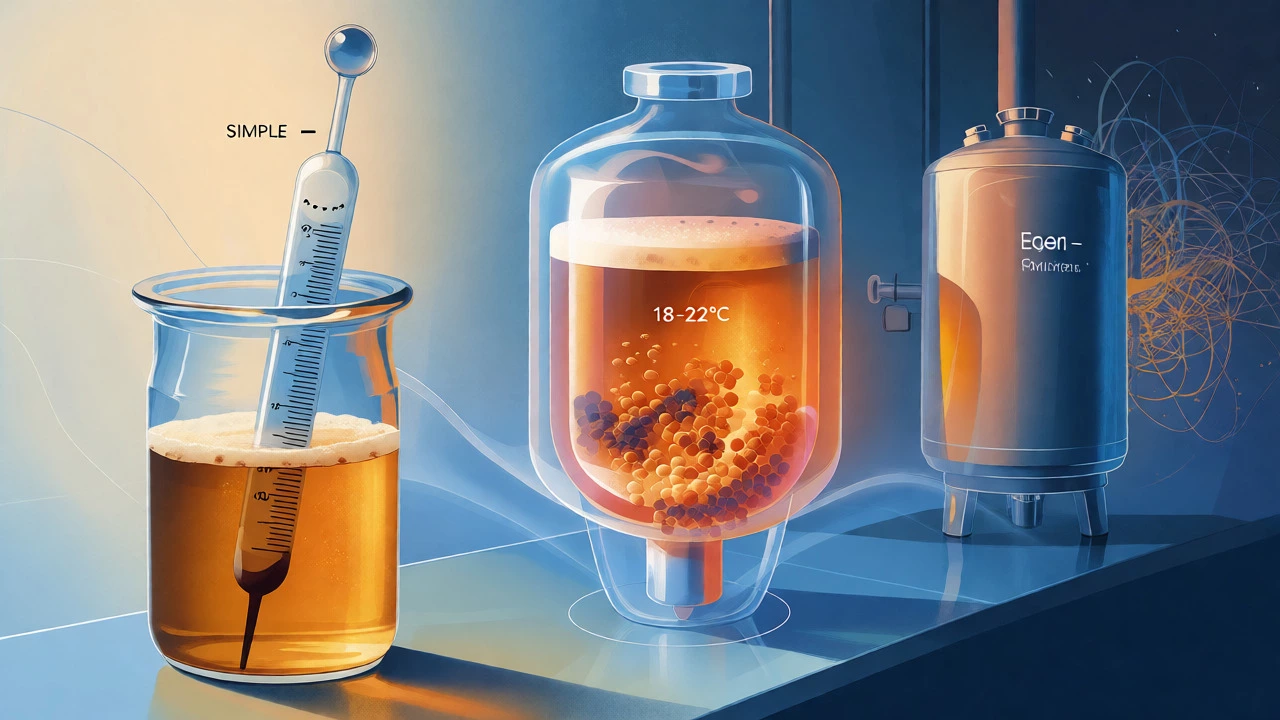
The beauty of the recommended styles is their equipment simplicity. You do not need a fancy all-grain system with a HERMS coil or a glycol chiller. To brew an APA, Stout, or Wheat Beer, you need:
- A large kettle (at least 25 liters/6 gallons).
- A primary fermenter (food-grade plastic bucket or glass carboy).
- An airlock and bung.
- A siphon tube for transferring.
- Bottles and caps (or a kegging setup).
- Priming sugar for carbonation.
Most beginners start with extract kits. This involves boiling malt extract syrup (which already contains the sugars from mashed grain) and steeping specialty grains for flavor. It cuts the brew day down to 4-6 hours, including cleanup. Once you’re comfortable, you can move to "extract plus steep" or full all-grain, but the skills transfer directly.
FAQs About Choosing Your First Homebrew
Can I brew a lager as my first beer?
You can, but it’s risky. Lagers require strict temperature control (often below 12°C) for several weeks. Without a temperature-controlled fridge, you’ll likely get off-flavors. Stick to ales for your first 2-3 batches to build confidence.
How long does it take to brew and drink a homebrew?
For the recommended styles like Pale Ale or Wheat Beer, expect 3-4 weeks total. This includes 1 week of active fermentation, 1-2 weeks of conditioning in bottles, and a few days for carbonation to develop. Stronger beers take longer.
Do I need expensive equipment to make good beer?
No. Good sanitation and temperature control matter far more than gear. A basic starter kit costs less than $100 and can produce award-winning beer if you follow instructions precisely. Upgrade only when you hit specific bottlenecks.
What if my first batch tastes bad?
It happens! Common issues include infection (vinegar taste), oxidation (cardboard taste), or poor carbonation. Diagnose the problem, adjust your process, and brew again. Even pro brewers dump batches. The learning curve is part of the hobby.
Is extract brewing inferior to all-grain?
Not necessarily. Many competition-winning beers are made from extract. Extract brewing simplifies the process by removing the mashing step, allowing you to focus on fermentation and packaging. You can always switch to all-grain later.
Next Steps: Your Action Plan
Ready to start? Here is your checklist for this weekend:
- Pick One Style: Choose an American Pale Ale or a Hefeweizen. Don’t overthink it.
- Buy Ingredients: Get fresh malt extract, appropriate hops, and a packet of dry ale yeast (US-05 for APA, WLP300/Wyeast 3068 for Weizen).
- Sanitize: Mix your sanitizer solution and soak everything that will touch post-boil wort.
- Brew Day: Follow the recipe exactly. Measure your water volumes. Boil for 60 minutes.
- Ferment: Pitch yeast, seal the lid, insert the airlock, and forget about it for 7-10 days.
- Package: After fermentation stabilizes, bottle with priming sugar. Wait 2 weeks.
- Taste: Pour into a clean glass. Note what you like and what you’d change next time.
Remember, the best beer to brew at home is the one you’ll actually enjoy drinking. Start simple, stay clean, and let the yeast do the hard work. Happy brewing!


Categories