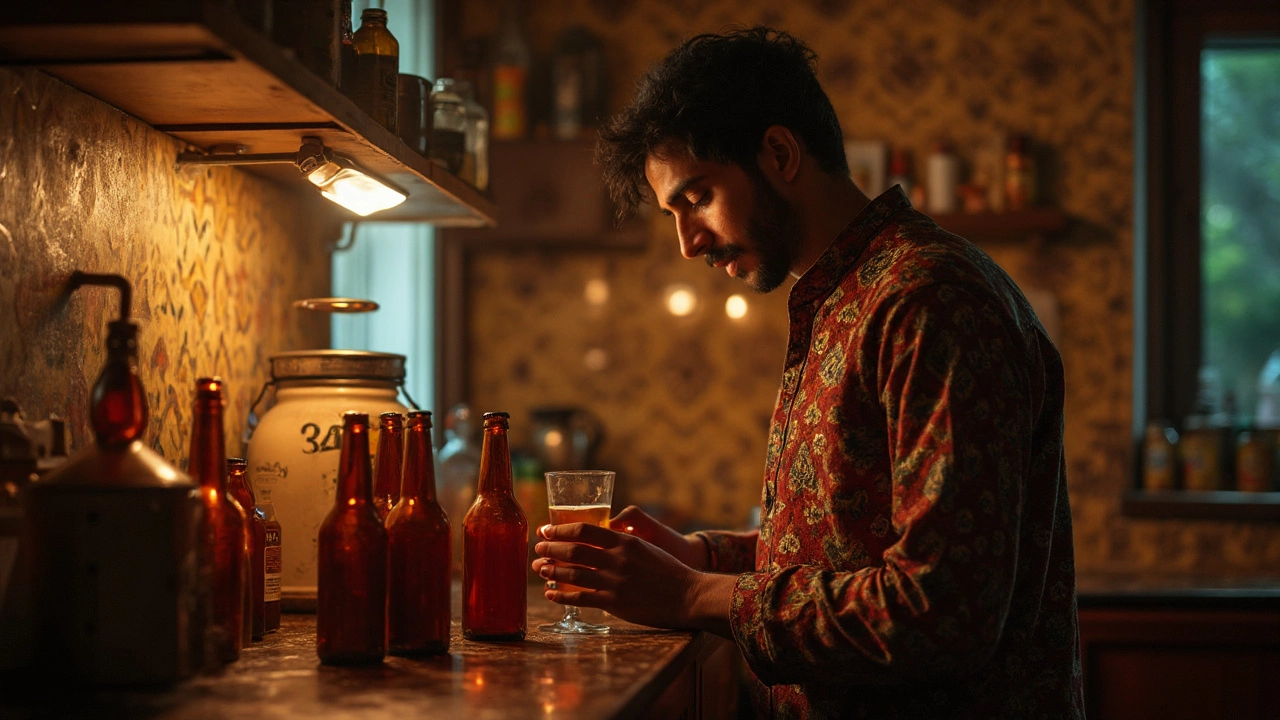
So, you've hopped on the homebrewing train, and after a bunch of trial and error, your ale is finally becoming sippable. But now, there's this pesky question - should you keep your brew in the dark? It sounds a bit cloak-and-dagger, but let's dive into why it actually matters.
Beer and light aren't exactly best buds. You've probably heard the term 'skunked' beer when someone describes a brew gone bad. It's not a myth! When your lovely brew is exposed to light, especially sunlight, certain hop compounds react and create something called 'lightstruck' flavor. That's the fancy word for skunky beer. This happens particularly fast with clear or green bottles because they let more light in. The solution seems simple enough: avoid light.
- Understanding Lightstruck Beer
- Proper Storage Tips
- Materials and Containers
- Tips for First-Time Home Brewers
Understanding Lightstruck Beer
Alright, let's talk about why your home brew might wind up smelling like a skunk's holiday. It all boils down to the way light interacts with the compounds in your beer. Specifically, it's the hops that are the troublemakers. They contain isohumulones, which, when hit by UV light, break down and form 3-methyl-2-butene-1-thiol (MBT). Try saying that five times fast. This compound is what gives your beer that unpleasant 'skunky' smell.
This chemical reaction can happen fairly quickly, within just a few minutes of exposure to sunlight. Even artificial light, like fluorescent bulbs, can cause a similar effect, albeit a bit less intense. This is why you might notice some brewers and bars opting for amber bottles or beer served in aluminum cans. They help keep that pesky light at bay.
How Bad Can It Get?
We’re not just talking about a slightly off flavor here. A lightstruck home brew can taste pretty funky—some say it reminds them of rubber or burnt tires. Needless to say, that’s not what you’re aiming for when you’re pouring a cold one for friends.
- Green Bottles: They might look fancy, but they offer little protection from light. It's no surprise that green-bottled beers are more likely to get skunky.
- Clear Bottles: Even worse! They let in almost as much light as if your beer were sitting in an open glass.
- Amber Bottles or Cans: These are your best bet. They block out most UV light, preserving your beer's intended taste.
Next time you’re shopping for beer or thinking about bottling your own, consider what’s shielding your brew from light. A simple choice can make the difference between a beer that's delightful or downright skunky.
Proper Storage Tips
Once you've got your home brew ready, storing it properly ensures it maintains that delightful taste you've worked so hard to perfect. Let's chat about a few storage tricks to keep your brew tasting fresh and skunk-free.
Embrace the Darkness
As you probably guessed, sunlight is not your brew's friend. Keeping your home brew away from sunlight is a priority. Dark spaces like a basement or a cupboard work wonders. If those aren't options, a covered box or even a large paper bag can provide that much-needed shade.
Bottle Choices Matter
Choose your bottles wisely. Opaque bottles, especially brown glass, block out more light compared to clear or green ones. This can make a huge difference in preventing your beer from getting skunked. Plus, if you're a bit clumsy with the bottle caps, consider that sealing them right helps prevent oxidation, another brew baddie.
Temperature Can't Be Ignored
While light is a big focus here, maintaining a steady temperature is just as crucial. Ideally, you want your brew stored at around 50-60°F (10-15°C). Radical temperature changes can mess with the flavor and the carbonation levels. Basically, avoid the fridge (for long storage) unless you want a cold crash.
Keep Them Upright
Did you know storing your bottles upright minimizes the liquid contact with the cap? This reduces the risk of unwanted flavors seeping from the cap to the beer. Sure, it’s the small stuff, but every little makes a difference.
- Darkness is key: keep away from sunlight.
- Opt for brown glass bottles for better light protection.
- Store between 50-60°F for best flavor and carbonation.
- Keep bottles upright to reduce cap contact.
Following these straightforward tips ensures your home brewing adventure keeps delivering that taste you love.
Materials and Containers
When it comes to keeping your home brew safe from light, choosing the right materials and containers is key. Different materials offer varying levels of protection, which directly affects your brew's quality.
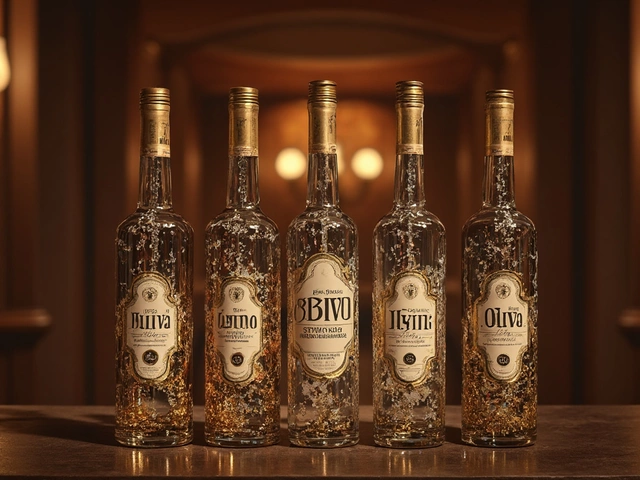
Opaque Bottles Are Your Best Friend
You've likely noticed that commercial beers often come in brown bottles rather than clear or green. That's because brown glass blocks more UV light, making it less likely your beer will turn 'skunky.' For homebrewers, opting for brown bottles can significantly boost your brew's longevity and taste.
Consider Stainless Steel and Food-Grade Plastic
For larger batches or initial fermentation, stainless steel containers are a great choice. Not only do they shield your brew from light, but they also maintain a stable temperature, which is critical during fermentation. Food-grade plastic containers can also be used, though you should ensure they’re stored in dark environments to minimize light exposure.
The Case for Kegs
If you're aiming for a professional setup, consider using kegs. Unlike bottles, kegs offer complete protection from light. Plus, they’re convenient for large batches and make serving easy, especially during gatherings.
Here's a quick rundown to help you choose wisely:
- Brown Bottles: Best for small batches, offering decent protection from light.
- Stainless Steel: Ideal for both fermentation and storage, highly effective against light.
- Plastic Containers: Cost-effective but requires being stored in dark rooms.
- Kegs: Excellent for large batches and frequent serving; gives full protection against light.
By focusing on the right materials and containers, you're giving your home brew the best shot at tasting great for longer. Your efforts in choosing wisely will definitely pay off when you enjoy a fresh and flavorful brew.
Tips for First-Time Home Brewers
Brewing your own beer at home is exciting, but jumping in without a plan can lead to some interesting concoctions—not always in a good way. So, let’s arm you with a few essential tips to help you avoid rookie mistakes.
Start Simple
When you're just beginning, it's wise to keep things straightforward. Pick a simple recipe that doesn't require rare ingredients or complex techniques. Focus on nailing the basics of home brew, like keeping everything clean, measuring ingredients accurately, and following the recipe step-by-step.
Sanitize Everything
Sanitation can make or break your homebrew. Any stray bacteria can spoil your beer faster than you can say "cheers." Invest in good sanitation supplies and make sure all your equipment and surfaces are squeaky clean before you start your brewing process.
Temperature Control
The temperature at which your beer ferments is crucial. Different yeasts have different sweet spots, but generally, keeping your brew between 18-22°C (65-72°F) is ideal for many ales. If you can, store your fermenter in a place where the temperature remains fairly stable.
Be Patient!
Homebrewing isn’t an activity for the impatient. Many first-timers rush the fermentation process because they can't wait to taste their creation. But give your brew the time it needs to develop flavors fully—this can be weeks in some cases.
Darkness is Your Friend
As we touched on earlier, keeping your beer out of direct light, especially sunlight, is critical. Store your fermenting and bottled beer in a dark place to prevent that dreaded skunky transformation from happening.
Keep Notes
Document each step and ingredient detail as you go along. This way, if you stumble upon a brew that you really love, you'll have a detailed trail to recreate it. Plus, it’s helpful to note what didn't work, so you can make adjustments in future batches.
If you follow these pointers, you'll be well on your way to mastering the basics of home brewing. Who knows, with a little practice, you might even create that perfect beer to impress your friends!

Categories