Handmade Vodka – Your Simple Guide to Brewing Smooth Spirits
Ever wondered why some vodkas taste so clean? The secret is often in how they’re made. You don’t need a fancy lab – a few kitchen tools and the right basics can get you a batch of handmade vodka that’s ready to sip or mix.
What You Really Need
First, gather the essentials. A large stainless steel pot, a food‑grade fermenter (a clean bucket works), a basic distillation kit, and a thermometer are enough. You’ll also need a neutral grain mash – think corn, wheat, or potatoes – and plenty of filtered water. Sugar helps the yeast turn the mash into alcohol, so keep a cup or two on hand.
Safety matters. Distilling creates flammable vapors, so work in a well‑ventilated area, keep a fire extinguisher nearby, and never leave the still running unattended. If you’re in the US, check your state’s laws – many places allow home distilling for personal use with the right permits.
Step‑by‑Step: From Mash to Bottle
1. Make the mash. Mix your grain or potato with warm water, add sugar, and stir until dissolved. Let the mixture cool to about 80°F, then sprinkle in a packet of high‑alcohol‑tolerant yeast. Cover loosely and let it ferment for 5‑7 days. You’ll see bubbles and a faint yeasty smell – that’s the alcohol forming.
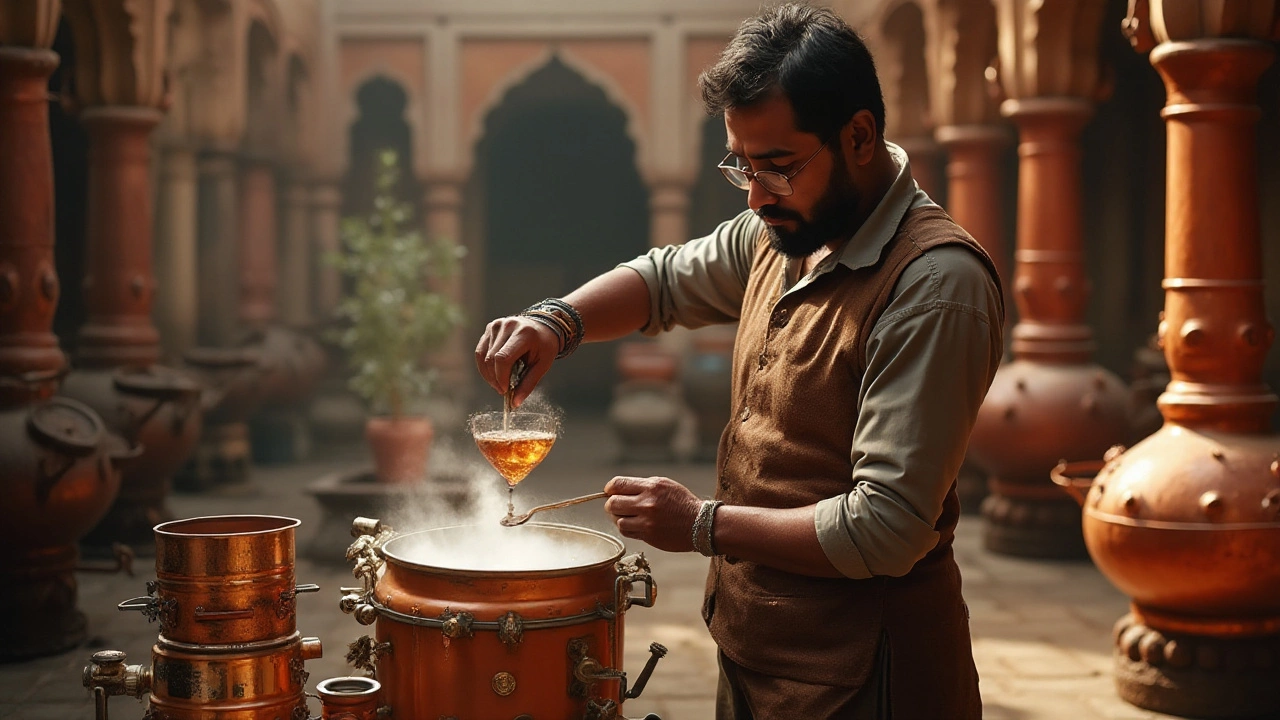
2. Distill the mash. Transfer the fermented liquid into your still, discarding the solid bits. Heat slowly; alcohol vapor will rise around 173°F. Collect the first 50 ml – that’s called the “heads” and contains harsh compounds, so discard it.
Next, gather the “heart” – the good stuff – until the temperature climbs above 190°F. This portion gives you clean vodka. Finally, the “tails” come out after the heart; they’re heavier and can be saved for future blends, but most home makers stop here.
3. Filter and chill. Run the collected spirit through a coffee‑filter or a small piece of activated charcoal to smooth out any remaining bite. Then cool the vodka to near‑freezing for a few hours. Cold temperatures make the flavors tighter and the mouthfeel smoother.
4. Flavor (optional). If you like a twist, add a dash of vanilla bean, citrus zest, or a few peppercorns to the chilled vodka. Let it sit for 24‑48 hours, then filter again.
5. Bottle it. Use clean glass bottles with tight caps. Store in a cool, dark place. Your handmade vodka will keep for years – the flavor actually improves a bit as it settles.
That’s the whole process. It’s not complicated, but each step matters for a smooth final product. Experiment with different grains or flavor additions, and you’ll soon have a signature vodka that friends will ask for at every gathering.
Remember, the key to great handmade vodka is patience and clean equipment. Skip shortcuts, keep everything sanitary, and enjoy the satisfaction of sipping a spirit you made yourself.


Categories