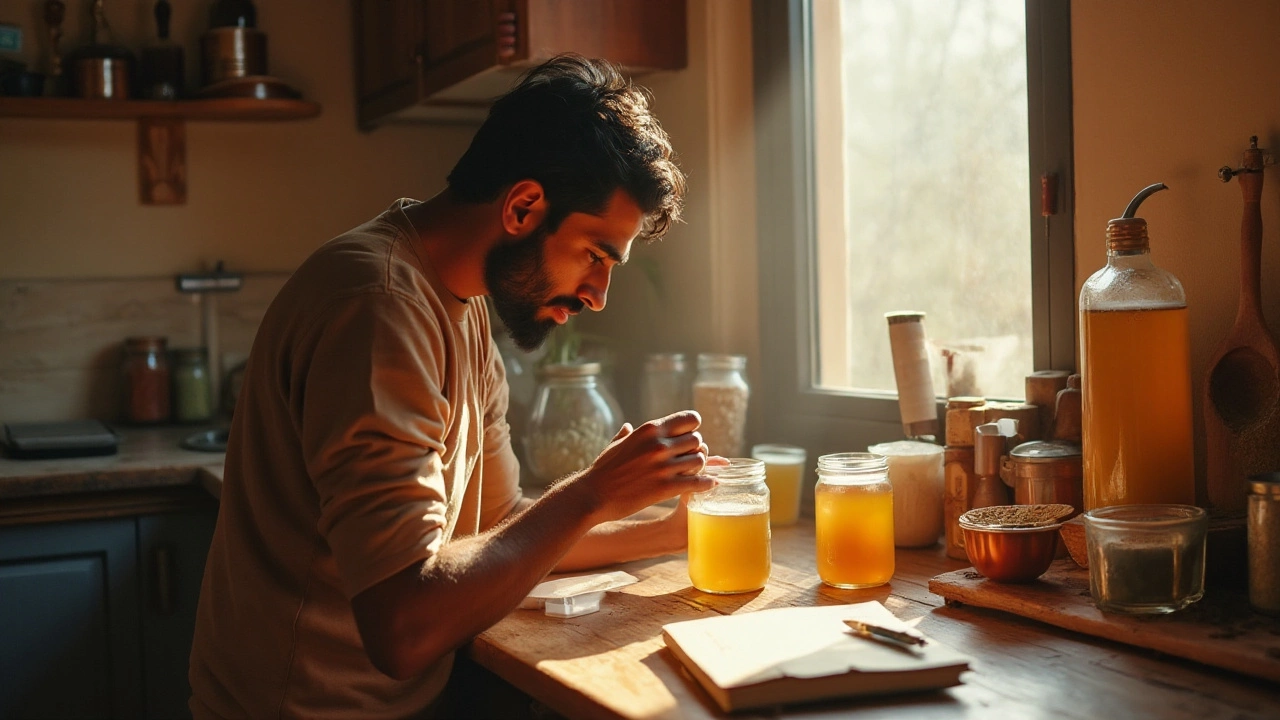
Beer Yeast – The Heart of Home Brewing
If you’ve ever tasted a home‑brew that sang with flavor, you’re probably feeling the work of a good yeast strain. Yeast is the tiny living organism that turns sugar into alcohol and carbon dioxide, shaping the aroma, body, and finish of your beer. In short, without the right beer yeast, your brew can end up flat, funky, or just plain boring.
Most new brewers wonder which yeast to pick, how much to use, and whether it needs special care. The answers are simpler than they sound. Below you’ll find the most common yeast families, a quick guide to handling them, and a few mistakes to avoid.
Common Beer Yeast Strains
There are two big categories: ale yeast (top‑fermenting) and lager yeast (bottom‑fermenting). Ale yeasts work at warmer temps (60‑72°F) and finish quicker, while lager yeasts need cooler temps (45‑55°F) and take longer to clear.
- American Ale (Wyeast 1056, Safale US‑05) – Clean, neutral flavor. Great for IPAs, pale ales, and anything that needs a hop‑forward profile.
- English Ale (Wyeast 1968, Safbrew BE‑256) – Adds subtle fruit and malt notes. Perfect for bitters, porters, and traditional English styles.
- Belgian Ale (Wyeast 1388, White Labs WLP500) – Produces spicy, phenolic flavors. Use it for saisons, Dubbel, or Tripel.
- Lager (Wyeast 2007, Saflager W‑34/70) – Clean, crisp finish. Ideal for pilsners, helles, and lagers that need a clean palate.
- Specialty yeast (Wyeast 1728, Kveik) – Gives unique fruity esters, often used in experimental or hazy IPA recipes.
Pick a strain that matches the style you’re brewing. If you’re unsure, start with a neutral American ale yeast – it works well with most recipes and lets your hops shine.
Tips for Handling and Storing Yeast
Yeast is alive, so treat it gently. When you get a fresh pack, keep it in the fridge (35‑40°F) until you’re ready to pitch. Once opened, the yeast can start to die, so try to use it within a few weeks.
Before adding yeast to your wort, always rehydrate dry yeast according to the manufacturer’s instructions. This step gives the cells time to recover and boosts fermentation speed. For liquid yeast, a simple “starter” – a small batch of boiled water, sugar, and yeast – can increase cell count and improve consistency.
Never let yeast sit at room temperature for long periods. If you notice a grainy texture or off‑smell, it’s probably gone bad and should be tossed. Also, avoid shaking the yeast container too hard; it can damage the cell walls.
When you finish a batch, you can reuse yeast for the next brew. Store the leftover slurry in a sanitized jar, cover it, and refrigerate. A couple of weeks is fine, but after that you’ll want a fresh starter to keep the yeast healthy.
Lastly, remember that temperature control matters. If your fermentation temperature swings too much, you’ll get unwanted flavors like higher alcohols or sulfides. Use a fermentation chamber, a temperature‑controlled fridge, or a simple space heater to stay within the yeast’s recommended range.
With the right strain, proper storage, and good temperature control, your beer yeast will turn ordinary sugar into an extraordinary brew. So grab a pack, follow the steps, and watch the magic happen in your fermenter.


Categories