Homemade Beer: Your Quick Guide to Brewing at Home
Thinking about making your own beer? You don’t need a fancy brewery or a degree in chemistry. With a few basic tools, some patience, and a love for tasty hops, you can brew a batch that rivals the keg at your local bar. This guide walks you through the essentials, so you can start pouring a cold one in a weekend.
Getting Started with Home Brewing
The first step is gathering the right kit. A starter kit usually includes a fermenter, airlock, siphon, and a basic sanitizer. Remember, cleanliness is the secret to a good brew – even a tiny contamination can turn a sweet batch sour.
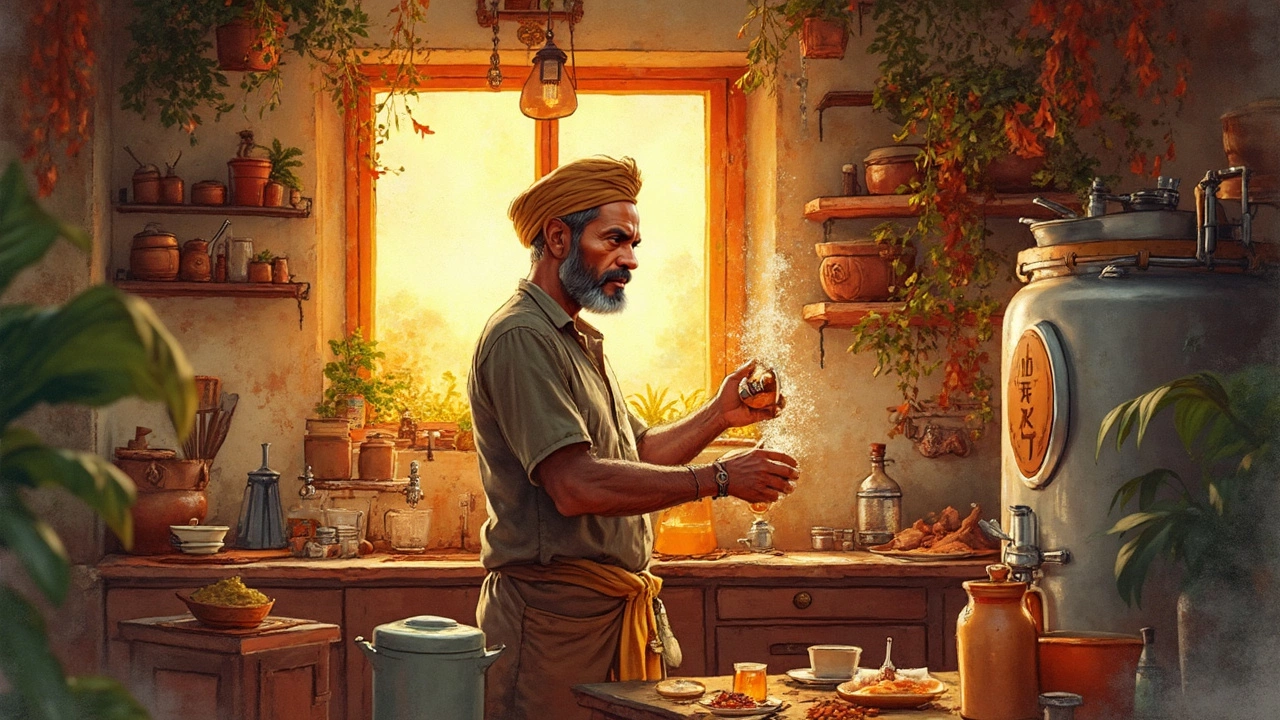
Next, pick a recipe. If you’re new, stick with an extract brew. It uses malt extract instead of raw grains, which cuts down on equipment and time. Follow the instructions on the packet: dissolve the extract in boiling water, add hops at the right moments, then cool it fast using an ice bath.
When the wort (that’s the sweet liquid) hits about 70°F, pour it into your sanitized fermenter, attach the airlock, and pop it in a dark spot around 65‑70°F. Yeast will get to work, turning sugars into alcohol and CO₂. Most ales finish fermenting in 5‑7 days, but give it a week before you move to the next step.
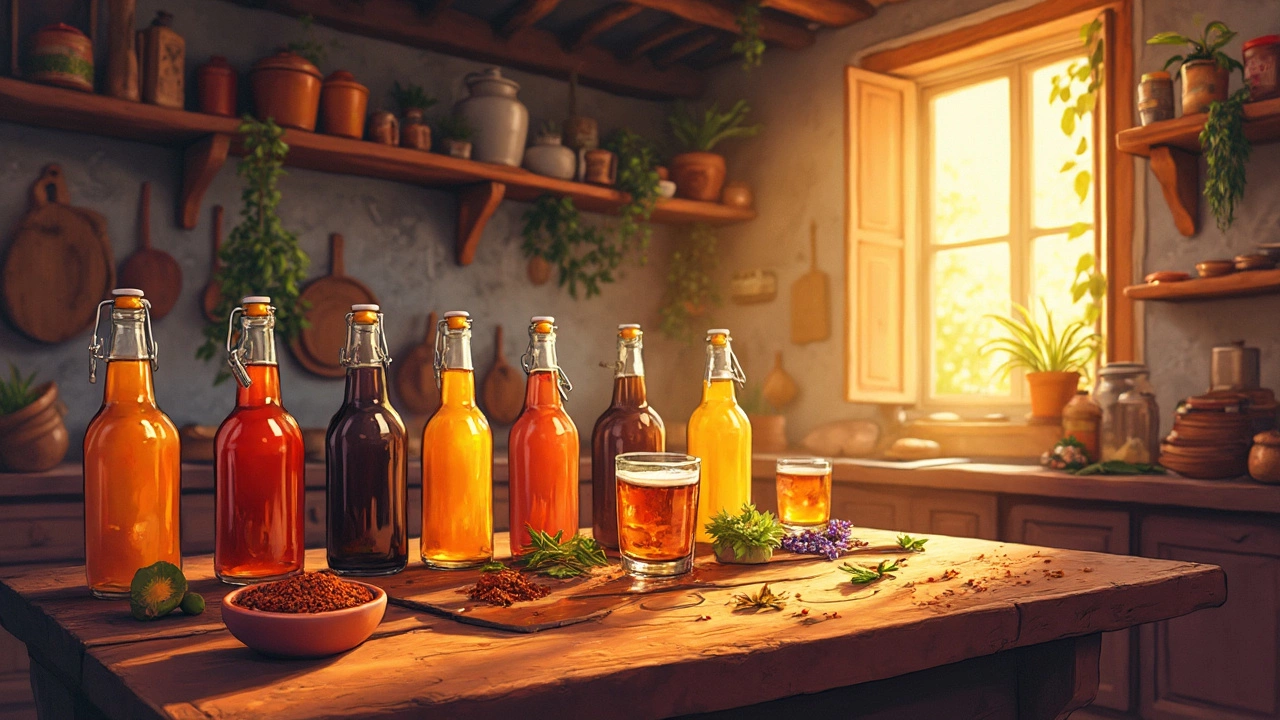
After fermentation, it’s bottling time. Add a tiny amount of priming sugar to each bottle – this gives the yeast just enough food to carbonate the beer. Seal the bottles tightly and stash them at room temperature for another 2‑3 weeks. Then chill, pop a cap, and enjoy.
Boost Your Brew: Tips & Flavor Ideas
Want to level up from a basic ale? Try a secondary fermentation. Transfer the beer into a clean vessel after the primary fermentation, and add fresh hops, fruit, or spices. This “dry‑hopping” stage layers extra aroma without bitterness.
Common flavor boosters include:
- Citrus zest – orange or lemon peel adds bright notes.
- Vanilla beans – perfect for stouts and porters.
- Fresh berries – mash them into the secondary for a fruity twist.
- Spices – a pinch of cinnamon or nutmeg works well in winter brews.
Keep track of what you add and how long it sits. A simple notebook helps you repeat successes and avoid off‑flavors.
Finally, don’t forget the basics: measure temperature, monitor gravity with a cheap hydrometer, and taste as you go. Small tweaks – like a few extra minutes of boil or a different hop variety – can transform a bland batch into a crowd‑pleaser.
Home brewing is part science, part art, but most of all, it’s about having fun. Grab a kit, pick a recipe, and start experimenting. In a few weeks you’ll have a cold glass of homemade beer that you actually made. Cheers to your first batch!


Categories