Beer Making Basics: Start Brewing Your Own Beer Today
Ever tasted a craft brew and thought, "I could make that"? You can. Beer making at home is easier than most people think, and you only need a few basics to turn water, grain, hops, and yeast into a tasty pint.
Essential Gear and Ingredients
First, gather the right tools. A sturdy fermenter (plastic bucket or glass carboy), a large pot for boiling, a siphon, a bottling setup, and a reliable thermometer cover the core needs. You don’t have to splurge on a commercial kit; many home brewers start with a simple 5‑gal bucket and a basic airlock.
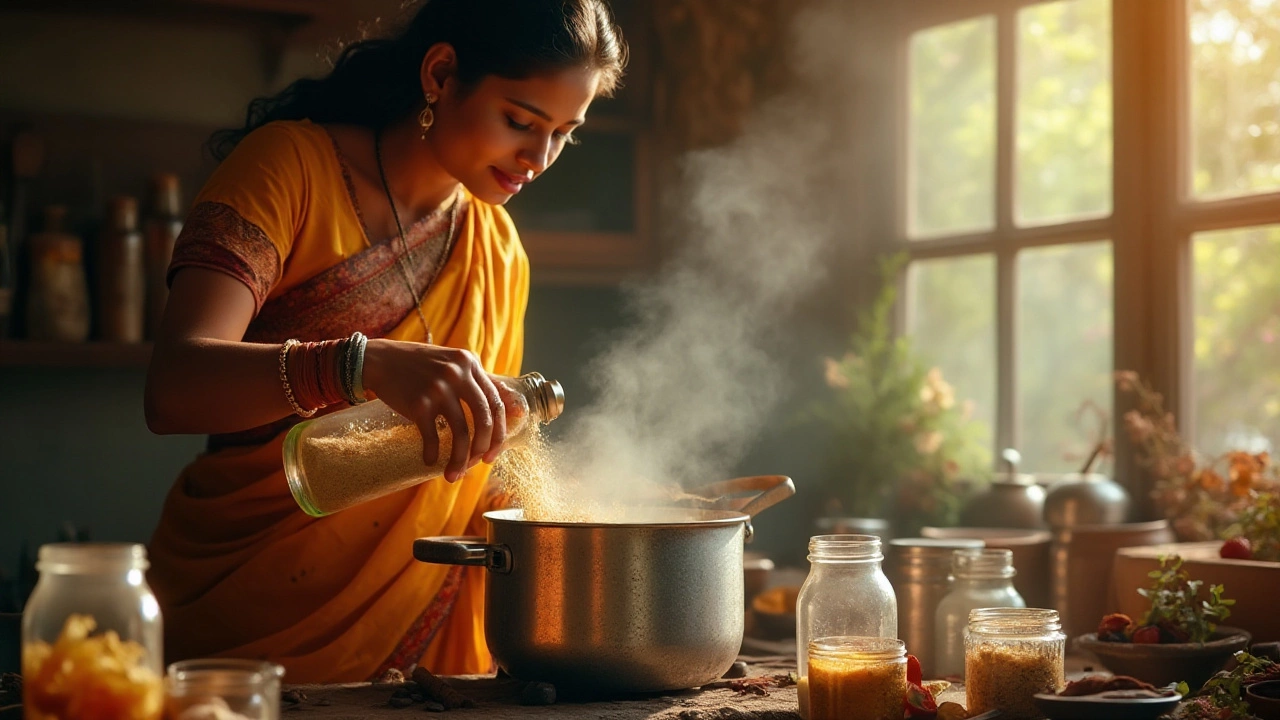
Next, pick your ingredients. Base malt gives the beer its body, while specialty malts add flavor and color. Hops provide bitterness and aroma—choose them based on the style you want, like Cascade for citrus or Saaz for earthy notes. Finally, yeast does the magic, converting sugars into alcohol and CO₂. Fresh, active yeast makes a big difference, so store it in the fridge until you’re ready to pitch.
Fermentation & Timing Tips
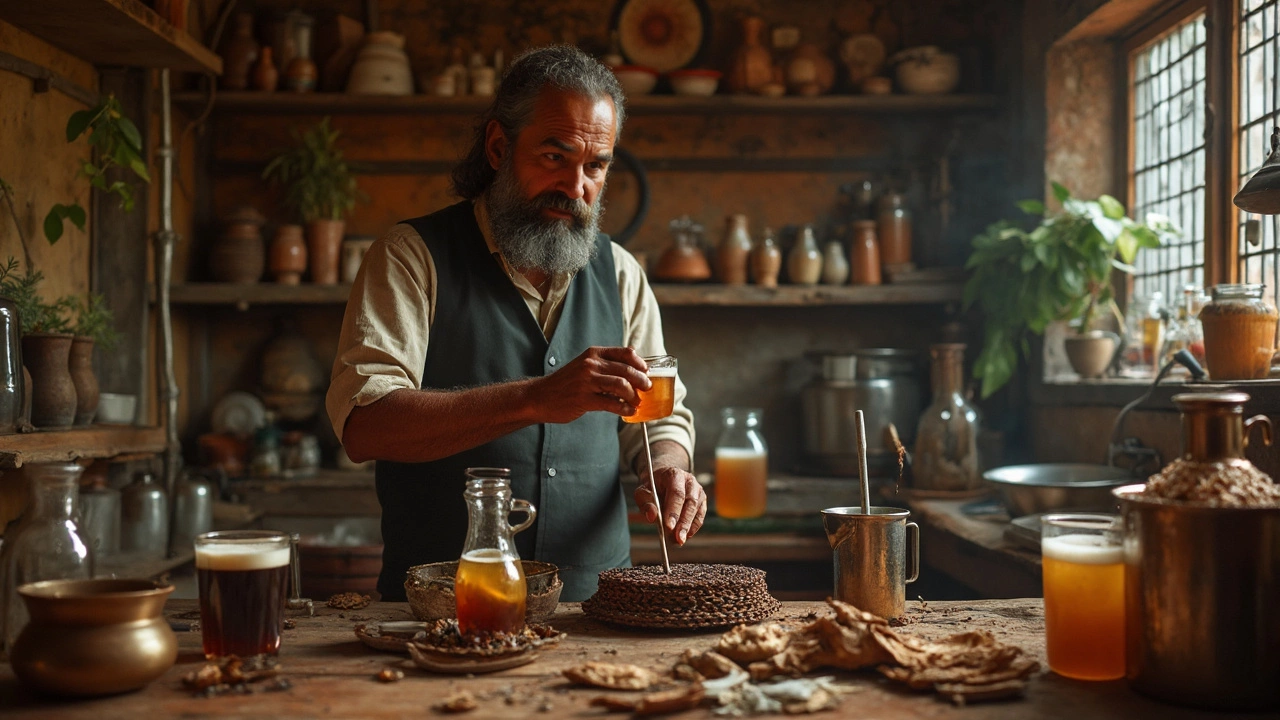
Fermentation is where the beer turns from sweet wort to drinkable brew. Most home recipes recommend 7‑10 days at 65‑70°F (18‑21°C) for ales. If you’re unsure about timing, the tag post “Is Two Weeks Enough to Ferment Beer?” explains that a full two‑week window gives the yeast time to finish cleanly and reduces off‑flavors.
Temperature control is crucial. Too warm and you’ll get unwanted esters; too cold and fermentation can stall. A simple solution is a water‑filled tub with a heater or a small fridge with a temperature controller. Swipe the airlock daily to release CO₂ and check for activity—bubbles slowing down usually means it’s finished.
After primary fermentation, many brewers add a secondary stage for a week or two to clarify the beer and let flavors mellow. This step isn’t required for every batch, but if you want a crystal‑clear pint, it’s worth the extra time.
When the beer looks done, it’s time to bottle. Add a measured amount of priming sugar to each bottle, seal, and let them carbonate at room temperature for about two weeks. Test one bottle by chilling it—if it’s fizzy, the rest are ready. Store the bottles in a cool, dark place and enjoy within a month for the freshest taste.
Home brewing is a learning loop. Each batch teaches you something new, whether it’s tweaking hop schedules, adjusting mash temperatures, or experimenting with new yeast strains. Dive into our other tag posts for deeper dives—like the legal side of home distilling, or seasonal recipe ideas—to keep expanding your brewing toolkit.
Ready to crack open your first home‑brewed brew? Grab a fermenter, follow these steps, and you’ll be sipping a flavor you created in no time. Cheers to your next batch!


Categories